Although I would guess that there are many such recipes out there, this is one that I created while experimenting with tofu and jarred pasta sauce. It’s been a bit of a miracle for me, because I love anything with “cream” in the title. It’s just that my lactose intolerance doesn’t allow me to eat most of it! This sauce gives me the taste and texture of of a great tomato cream (think Indian butter chicken) with an Italian taste. Better yet, the family loves it — not just tolerates it as a vegan recipe, but really loves it! Experiment with it yourself and see what happens. If you like it, let me know.

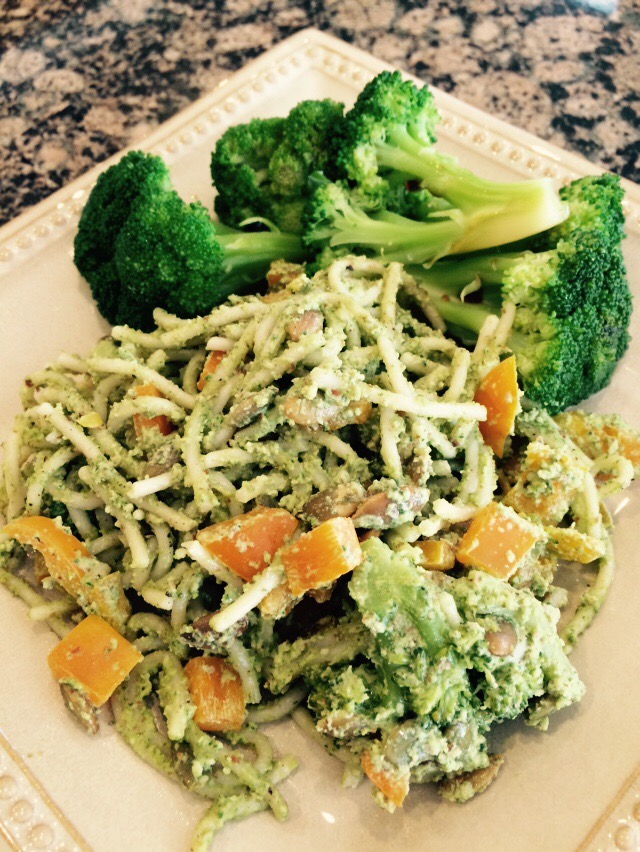
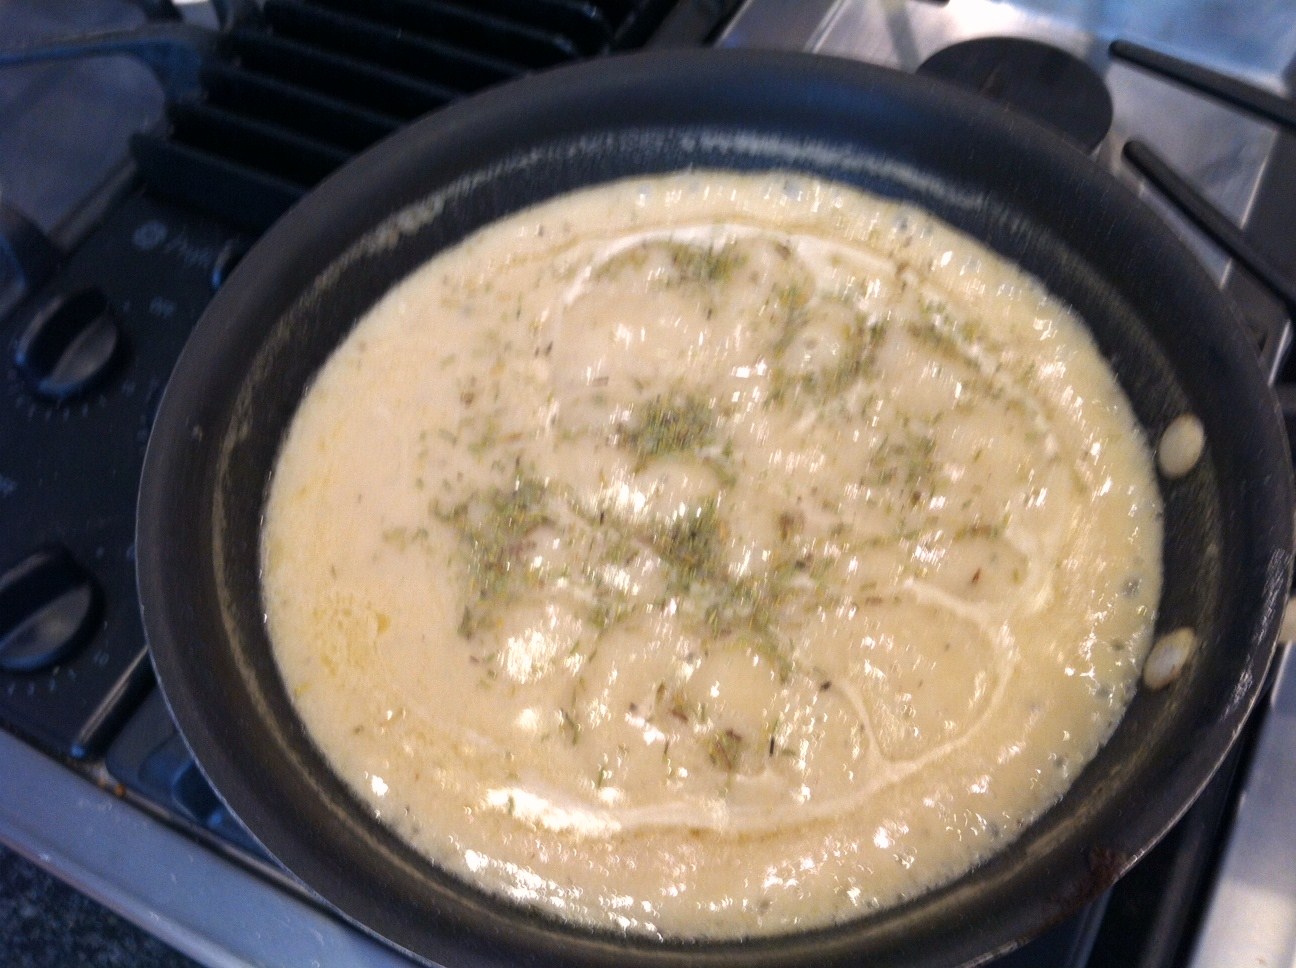
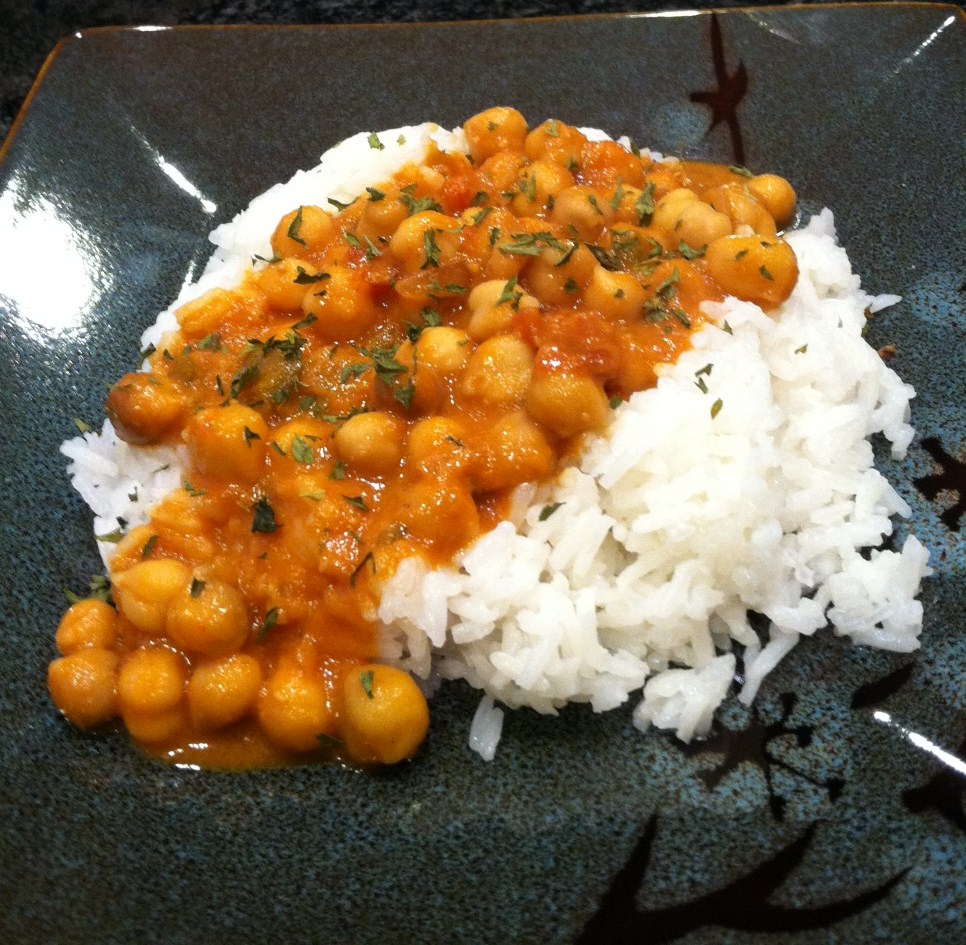
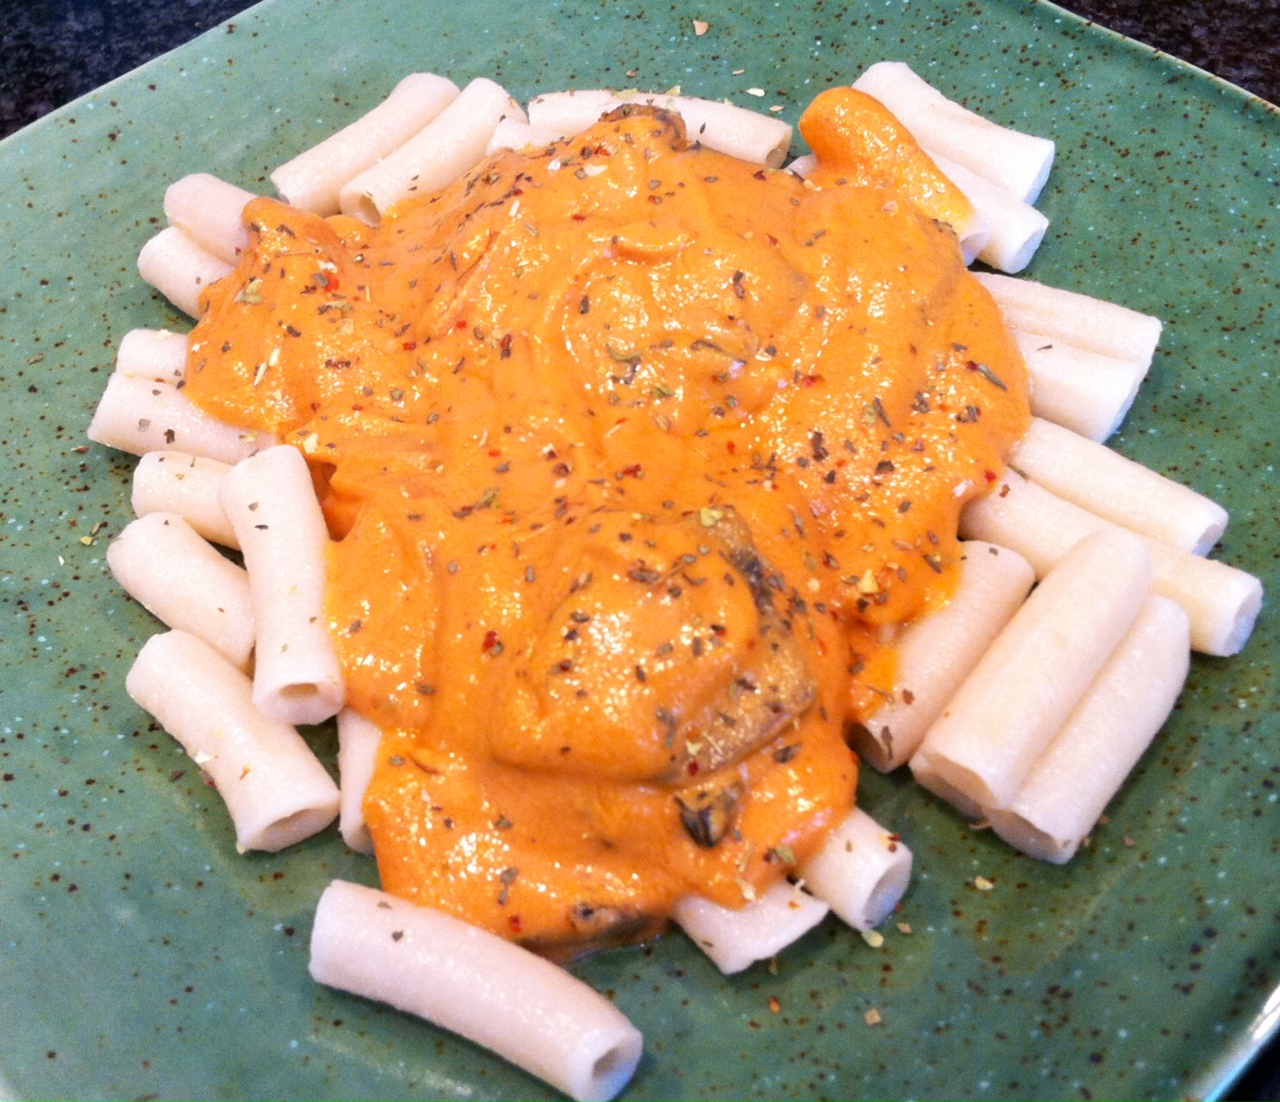
Cream sauce shown over rice penne
INGREDIENTS:
*Please note: This recipe is substitute-friendly! See alternates listed.
1 jar (24 oz.) tomato-based pasta sauce (used Tomato Basil Priano brand from Aldi)
About 8 oz. pasta of choice (used Tinkyada Brown Rice Penne)
1/2 block drained refrigerated extra-firm tofu to equal about 8 oz. (If you use Mori-Nu, use the entire box)
1/2 c. vegetable broth or water (Mori-Nu users, you may not need to add liquid due to softer texture)
2 portabello mushroom caps, stems cut and discarded (you may use a container of baby bellas if you can’t find the large caps)
1 medium to large onion, any white or yellow variety
1 t. minced garlic
1-2 T. olive oil
1 T. butter (use Earth Balance or other butter substitute for vegan version, or add olive oil as needed)
1 t. salt (use 1/2 t. if you are salt-sensitive)
1 T. sugar (or agave nectar, sucunat, honey, or sweetener of choice) — this cuts the acidic bite of the sauce
Optional – finish with Italian seasoning (used Pennzey’s Tuscan Sunset) or nutritional yeast — or Parmesan cheese for non-vegans such as my husband.
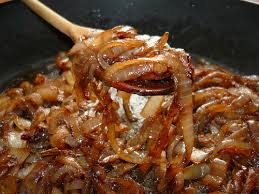
Begin to prepare pasta according to package directions. As you are making the sauce, drain pasta and reserve. Add olive oil and butter to saute pan and warm over medium heat. Slice onion into thin strips/rings (chop if preferred) and add to pan. Increase heat to medium high to brown and slightly caramelize onion. While the onion is cooking, slice the portabello caps down the middle (in half), then slice into thin strips about 1/4 inch thick or less. Add garlic to pan and stir. Add mushrooms and continue browning. Reduce to heat to medium as you prepare the sauce.
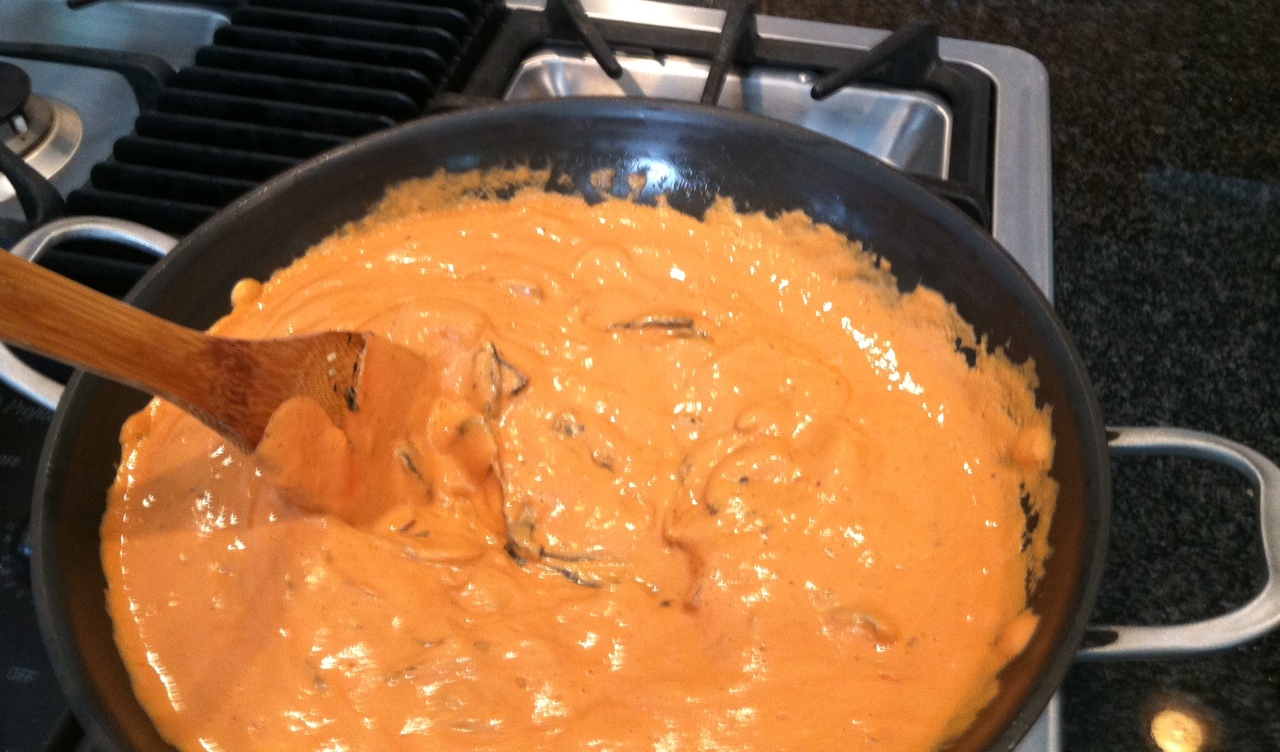
Cut or crumble the tofu into a blender. Add the jarred sauce, vegetable broth, salt, and sugar. Blend until all ingredients are smooth. (In the Blendtec this took 30-45 seconds.) When the mushroom, onion, and garlic mixture is browned to your satisfaction, add the tofu sauce mixture to the pan. Reduce heat to medium low. You want to warm the sauce thoroughly without overcooking the tofu. Stir periodically until warmed through, and serve with your reserved pasta. Enjoy! Feel free to try adaptations to this simple base sauce. The next time I make it, I’ll stir it in with gluten-free spaghetti, and perhaps I’ll add a seasonal vegetable. It’s versatile!

Note sauce in Blendtec on the side


Sauce – Aldi
Pasta via Wegmans or Vitacost.com