Chickpea sandwich salad with vegan avocado mayo

FullSizeRender (1)

Today’s post is full-blown vegan!  Getting back to the roots of this blog after a long break…too long…and I’m slowly documenting the story behind it on my sister site about surviving cervical cancer.  It’s very much a work in progress, but for now, I’m happy to be back on this site with a post that’s a delicious alternative in hot weather.

If you like tuna salad or egg salad but would like a vegan, clean eating version, give it a try!  First, you’ll need to make avocado mayo.  There are several recipes out there, but after scanning several, I started with this version: from Pinterest. (Thanks, Alissa!)

My adapted version of avocado mayo:

1 avocado, pitted, scooped out of the peel and into a blender

juice of 1/2 lemon

1 T. apple cider vinegar (skimpy tablespoon)

1 T. olive oil (omit if you wish…but I found it to blend more easily with the addition of healthy fat, which is okay with me)

1/8 t. onion powder

1/8 t. garlic salt (note that the original recipe calls for garlic power and salt separately, but I ran out of garlic powder…)

Blend everything in a blender until it is smooth, stopping to scrape down the sides as necessary.  Spoon out into a bowl and rinse the blender.


Chickpea sandwich salad:

1 (15 oz) can chickpeas (garbanzo beans)

2 T. chopped onion (I used a sweet white onion)

1/2 to 1 t. celery seed (chopped celery is okay to add as well…experiment)

freshly ground pepper to taste

salt to taste ( I used sea salt)

Drain the chickpeas and reserve the juice/fluid/water for another use…if you wish.  (Like what, you say? Check here.)

Dump the chickpeas back into the blender and pulse a few times.  You do NOT want hummus…but you do want a chunky, mashed consistency.  It’s okay to use a potato masher for this, but if the blender is already out…why not?  I’m all for working efficiently and having less clean-up.

IMG-5494

Add the chickpeas to the avocado mayo.  Add the onion, celery seed, salt, and pepper.  Fold together into a sandwich salad…think tuna or egg salad.  At this point, you may need to taste and add more celery seed, salt, and pepper.  Don’t go too light on the salt unless it is restricted in your diet, as it really enhances the flavor to have the right amount of salt in this recipe.


Serve as you would your favorite sandwich salad.  Today, I chose an Ezekiel English muffin, open faced with Grey Poupon and more freshly ground pepper.  Yes, I do love ground pepper!  Hope you try it and enjoy.  Happy experimenting! –LindaFullSizeRender (1)

Advertisement

Chinese style greens


If you’re  lucky enough to be part of a CSA this spring and early summer, you are likely blessed with an abundance of greens. Green smoothies are the way to go… But we have to have variety! These Chinese style greens may give you a new option.
First, I’ll start with the disclaimer that of course you need to omit the eggs to make the vegan version. My farm share includes an egg share, so I have included three eggs in the greens. For those of you who are Paleo or just like to eat meat in addition to vegetables, you could add your meat of choice.

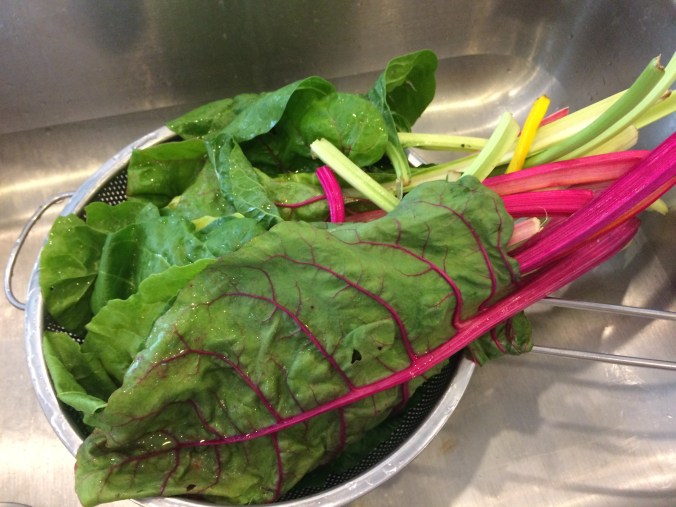
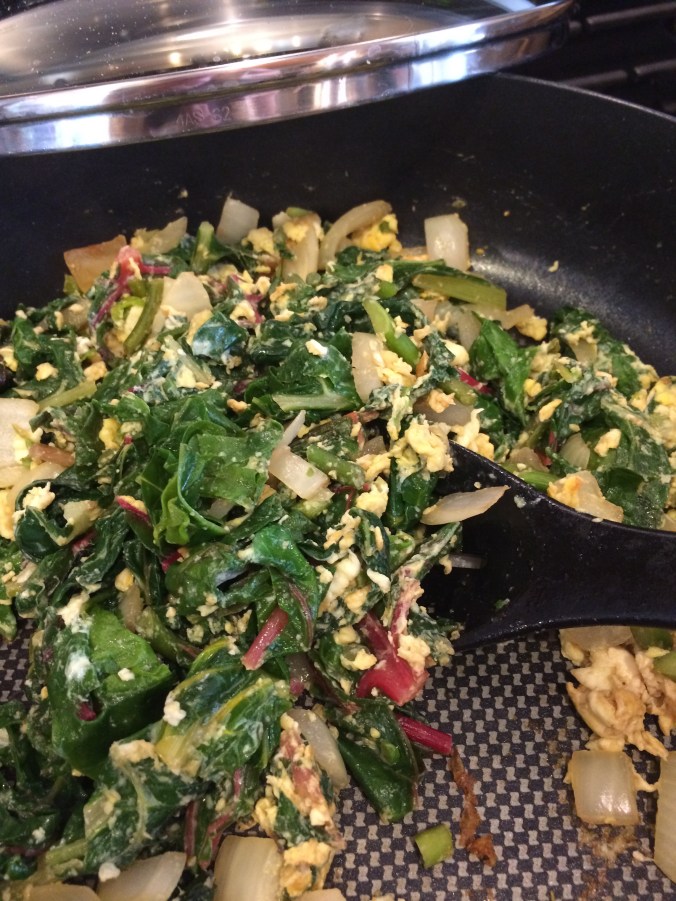
I started with a large bunch of rainbow chard, but you can use any greens. Rinse the greens, cut away any tough stems, and coarsely chop.


Bring an inch of salted water to a boil, add the greens, and boil until barely wilted.


Drain immediately in a strainer and set aside for a few minutes. In the meantime, add 2 teaspoons sesame oil to your pan and add two or more cloves of minced garlic. You’ll see that I happened to receive garlic scapes in my share this week, so I chose to use them.


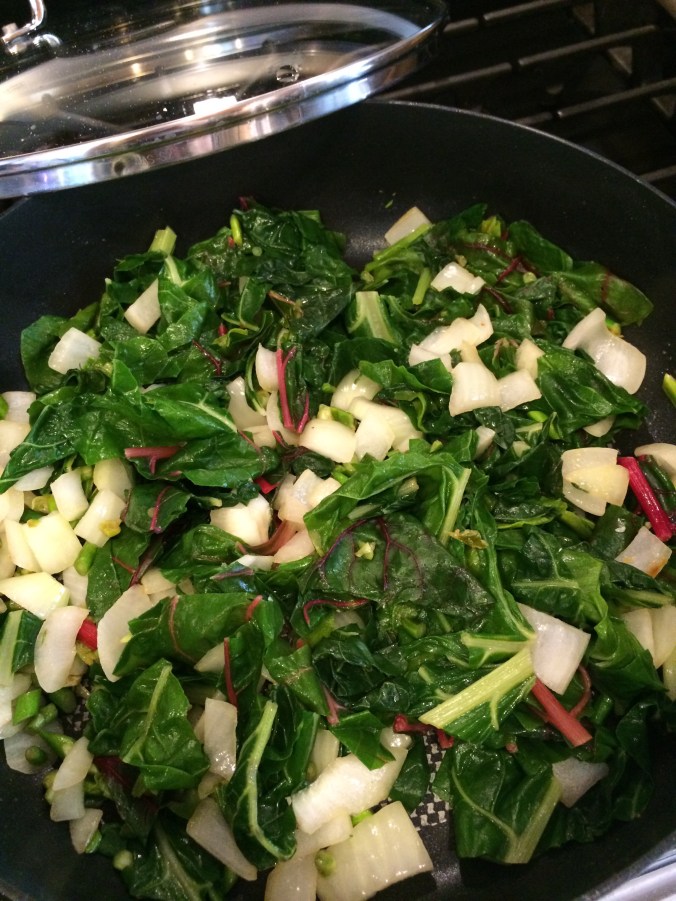
After the garlic is browned just a bit, you may add other vegetables and preferably a bit of minced fresh ginger. I didn’t have fresh ginger on hand, so I added about a half teaspoon powdered ginger. I also needed to use a portion of sweet onion, so I threw it in there as well. If you read my blog, you know that I will use whatever is on hand and will still work with the recipe! On that note, this recipe was inspired by a cookbook published by Potomac Vegetable Farms, although not followed precisely. No big surprise there!

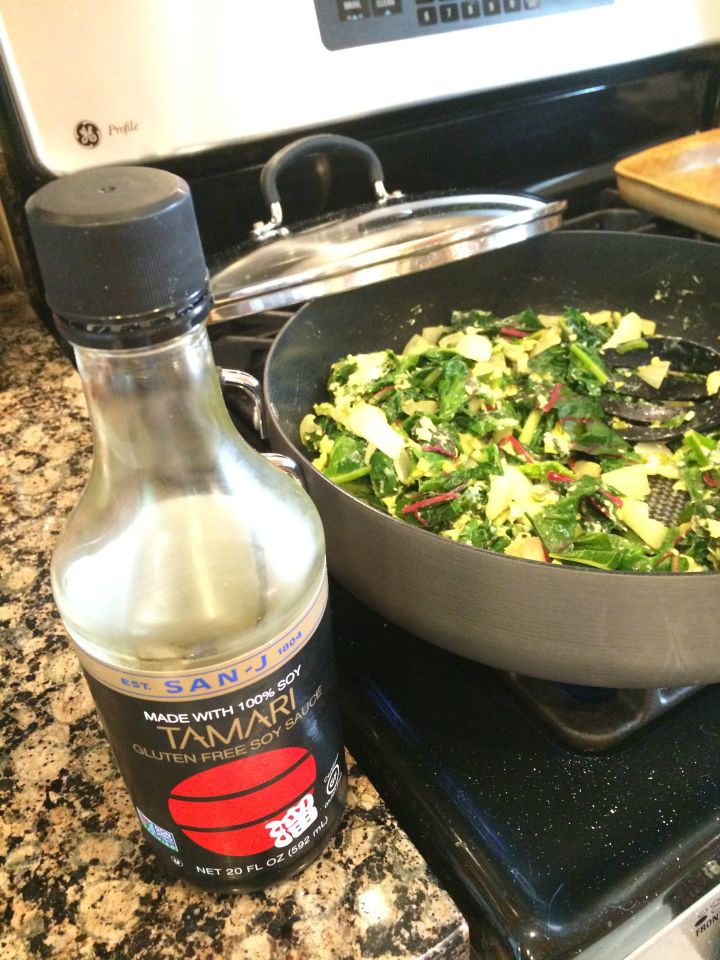
Add in the greens, and season with a bit of salt and pepper. Take it easy with the salt, as you will finish with a tablespoon or so of soy sauce or wheat free tamari.


For the vegan version, you’re finished after the tamari. Serve over rice or your favorite noodle.

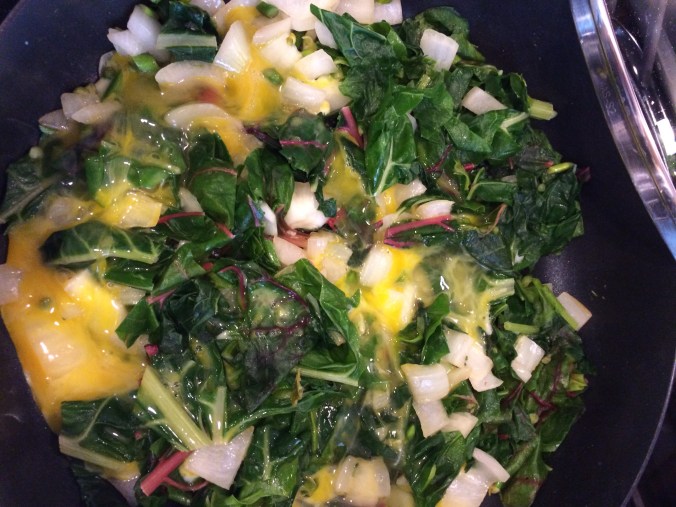
I continued by adding three eggs from the farm share.


Scramble them in, serve over rice, and enjoy! If you give it a try, please comment and let me know what you think. Happy summer! Keep on supporting your local farmers and farmers markets!

Disappearing tofu

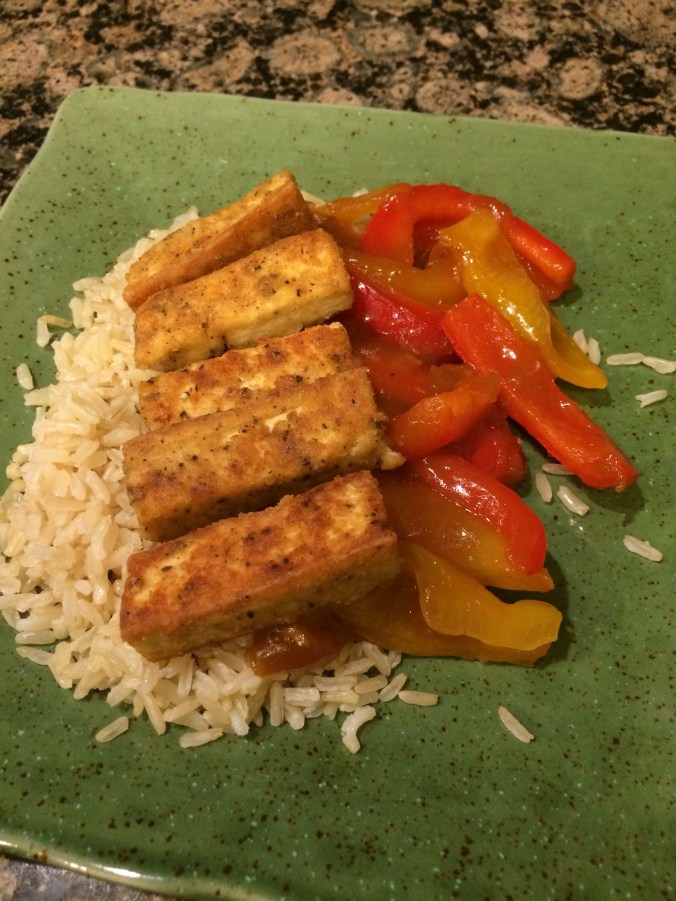
Really, this is a feature for breaded, fried, and softly spiced tofu. But considering the fact that my son wanted to eat it all in one sitting, disappearing tofu seems to be more appropriate.

The truth is, I use tofu sparingly because of my thyroid condition and what seems to be mixed reviews for using tofu in that situation. This recipe justifies the exception.

The original version is here:

allrecipes.com
I stuck to the original version with the exception of using quinoa flour rather than all purpose flour, and I used coconut oil rather than vegetable oil.

Don’t skip the step of pressing the tofu to get the liquid out. This is important to have the right consistency after breading and frying.


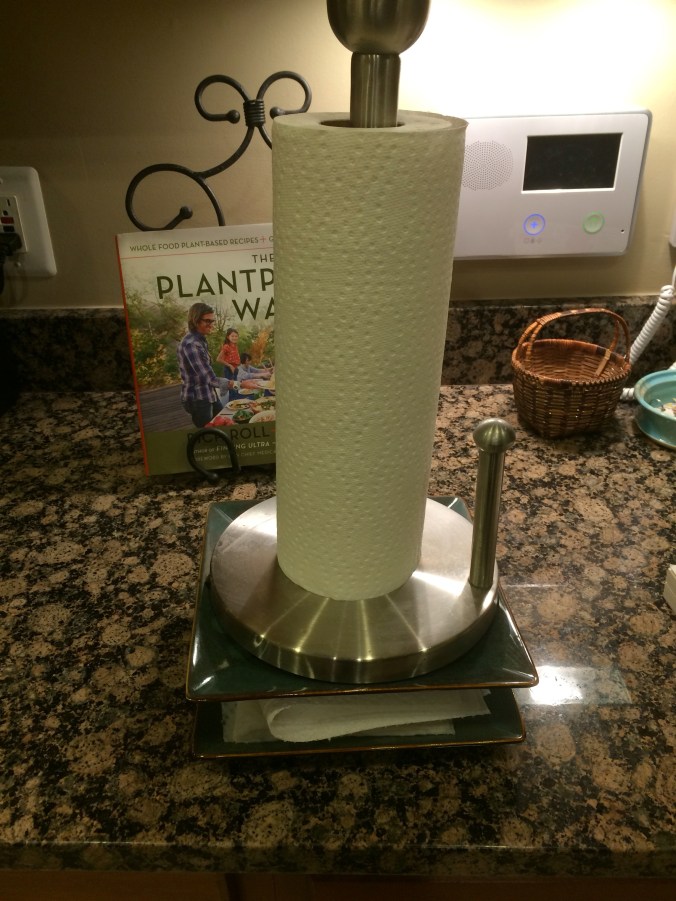
Yes, the tofu is in between the plates, sandwiched between paper towel. There is a tool for this purpose, but I don’t own it. If you read this blog, you know I’m not deterred by such things.


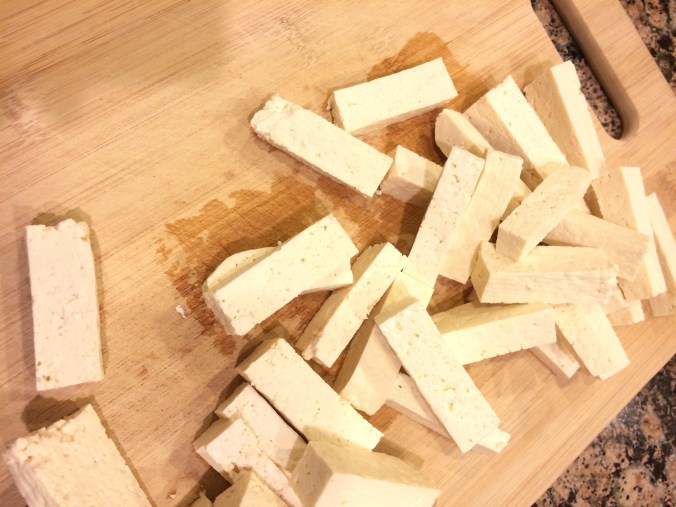
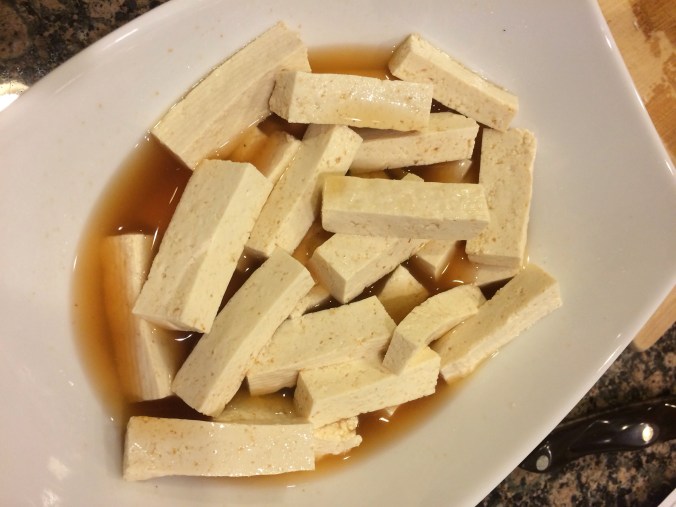
Cut the pressed tofu into strips, and marinate as directed in the recipe.


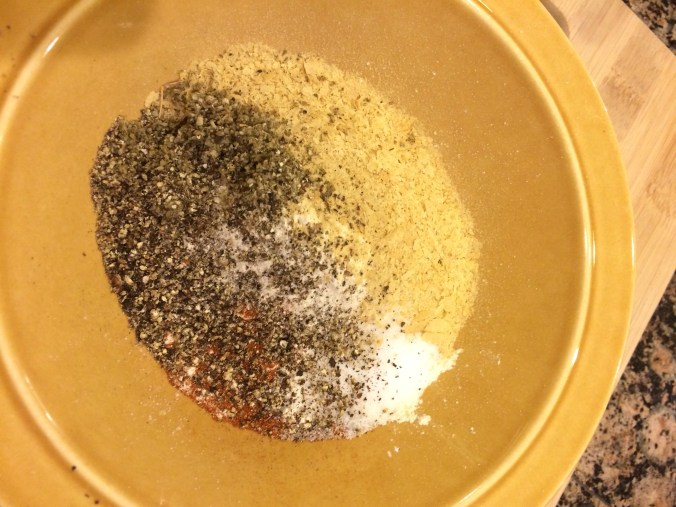
Mix the ingredients for the breading, and roll the drained and slightly pressed strips in the breading mix.


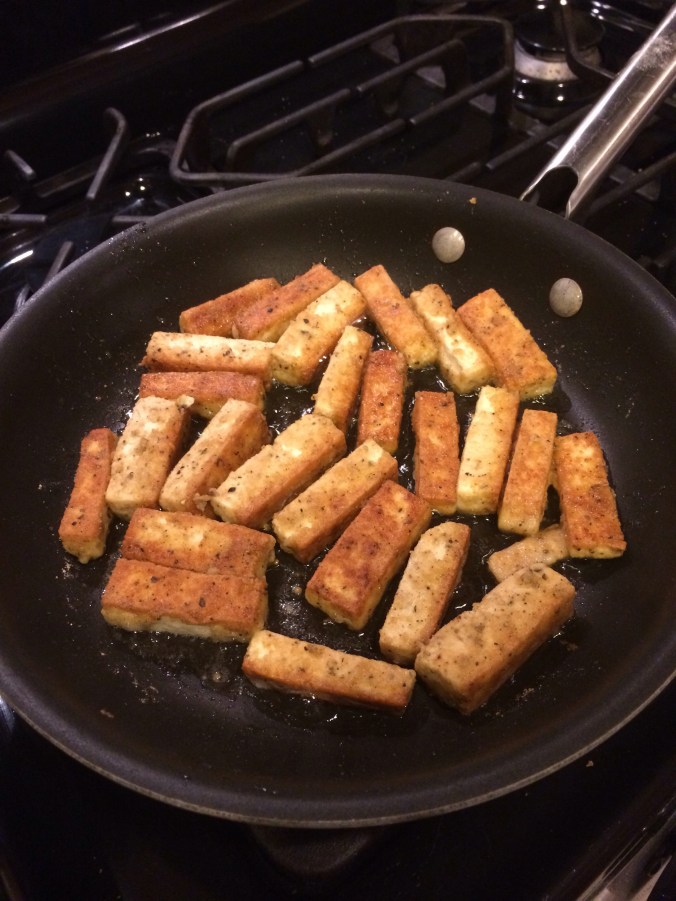
Be generous and make sure the tofu has a good coating. Fry until crisp and browned on all sides, and add more oil if you need it.


You can serve this with any side vegetable that you’d like, but I happen to have colored peppers and made a very simple sauce with cornstarch, water, ginger, Sriracha, Tamari, and a bit of honey. I even used the same pan while the tofu was draining on paper towel, because I don’t like to create extra dishes to wash! Cooking is fun, dishes not as much. But it was definitely fun watching a seventh-grade boy ask for more tofu.

Try it and let me know what you think!

img_3809

Balsamic wine reduction…portabella caps!

 This is so easy I shouldn’t even post it, but that’s the very reason to publish it ASAP.  I could be saving someone from a dinner of Cheez-Its this evening.

Recently I saw a FB post about making a balsamic vinegar and red wine reduction to serve with steak.  While it looked tasty, I wondered what was stopping me from trying it with portabella caps.  The answer, obviously, is nothing!

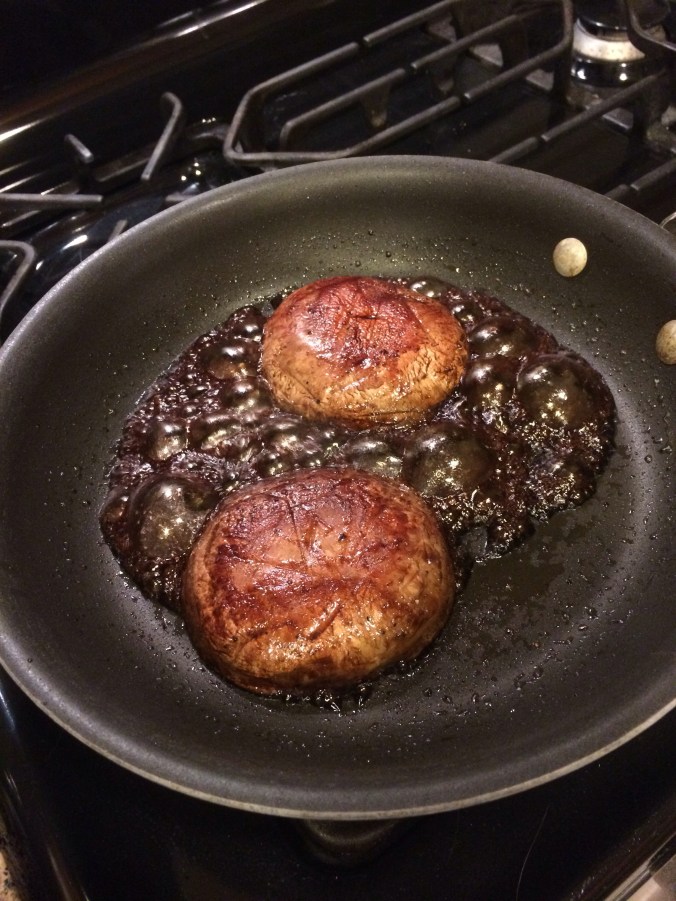
The “recipe” is a bit of a joke, but regardless… I added a bit of olive oil to my pan, turned it to medium high heat, and removed the stems from the caps.  Next, I added two portabella caps and cooked for a bit on each side.

Next, I added balsamic vinegar, a generous splash of pinot noir (thanks, Camie!), and seasoned with salt and freshly ground black pepper.  After a few minutes on medium high, the reduction was…reduced…and dinner was nearly ready.

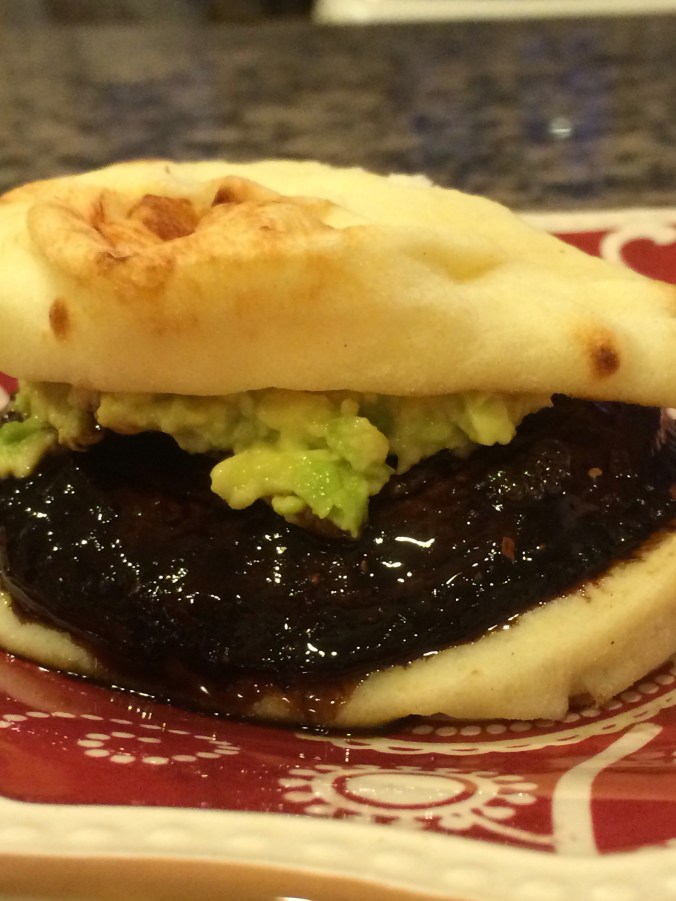
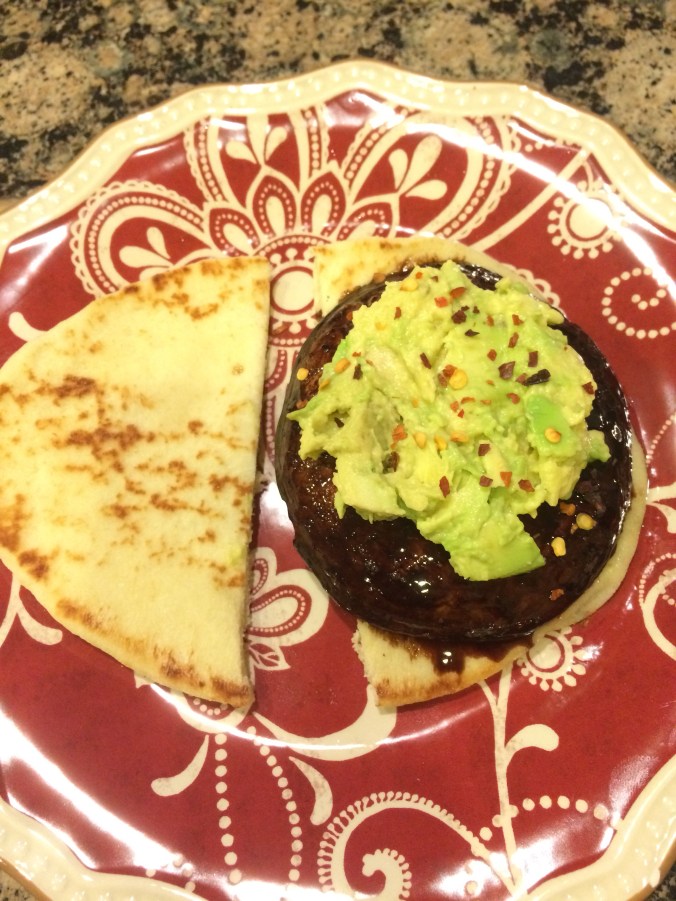
  Although I’m not much of a bread eater, Sam is…and tonight’s “bun” was a mini-naan cut in half .  (It’s delicious…try it.  Also excellent as a base for pizza.)  Tonight’s topping of choice was mashed avocado with salt and red pepper.  Another excellent choice…although my favorite is to have it over Ezekiel toast for breakfast!

Hope you have a new idea and that you’ll both try it and enjoy it.  Let me know!


My new toy…a pressure cooker!

Santa (aka Sam) brought me a pressure cooker for Christmas this year. My first experiment is a barley vegetable soup.

  
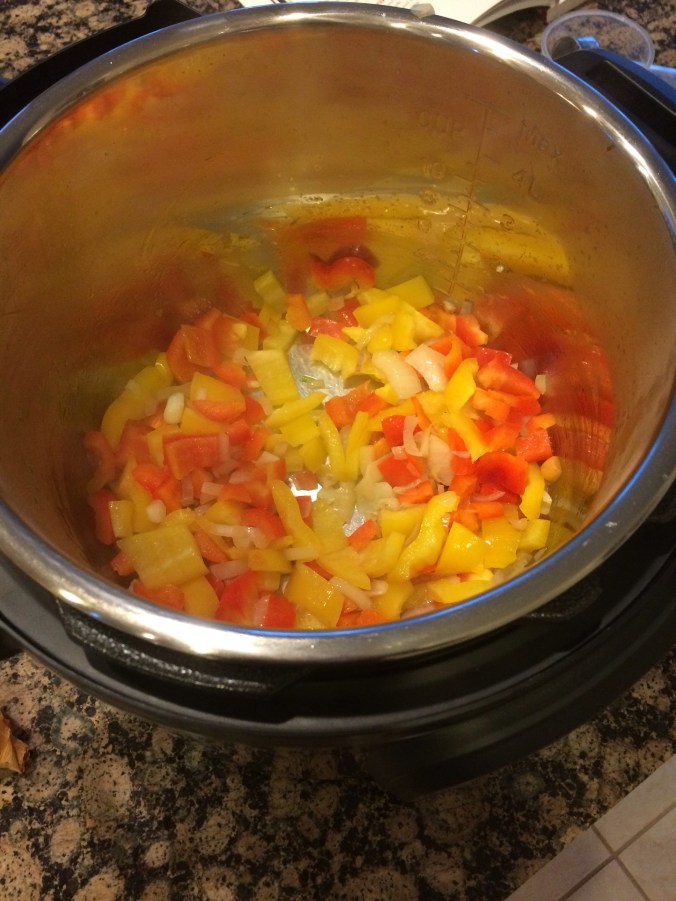
I must say, I’m impressed! The pressure cooker has the ability to sauté before cooking. 

  
The rest of the process involves adding everything and pressing a button. Not too shabby!

  
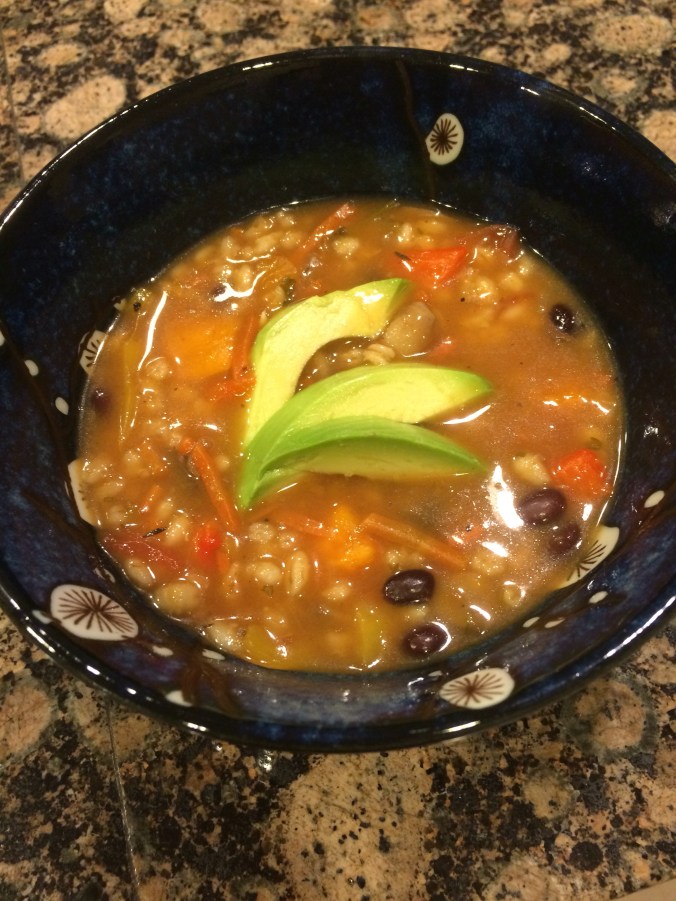
I used whatever was on hand. In this case, it included onions, shallots, bell peppers, carrots, sliced mushrooms, and a diced sweet potato. I topped it off with a cup of organic barley, a can of rinsed black beans, and 8 cups of vegetable stock. If you use vegetable stock, I encourage you to consider this product.

  
It’s so much easier than lugging around the big tetra pack cartons from Whole Foods or wherever.

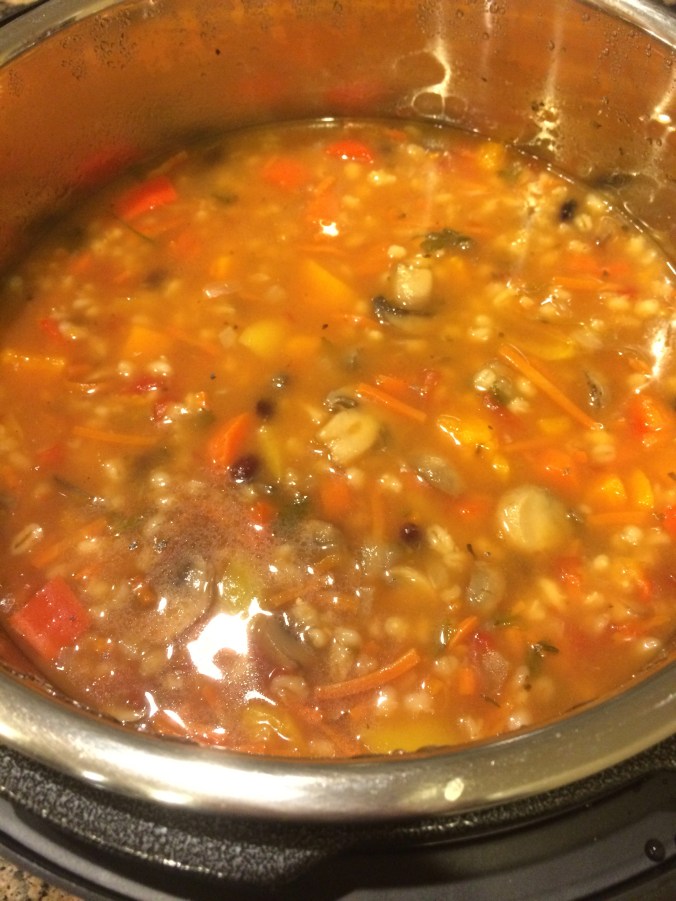
So I press the button on the pressure cooker and here’s what happened 30 minutes later. 

  
Indeed, the barley was soft and everything else was perfect. After the taste test, I found that I needed my magic ingredient. 

  
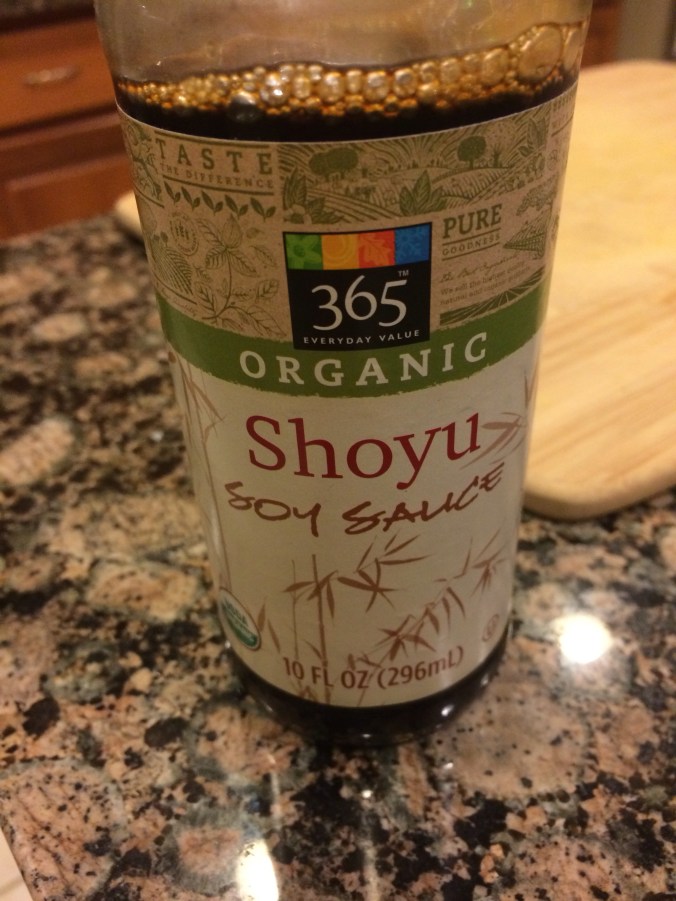
After a couple shakes of Shoyu, I was satisfied. (Wheat free Tamari works great as well. ) This will be my lunch all week, if not longer with freezer meals. This is a new frontier! 

Do you have experience with vegan meals in a pressure cooker? If so, let me know. I’m eager to learn.

Even if you don’t have a pressure cooker, you can make this in about two hours in a Dutch oven or large pot. Good luck and enjoy your culinary adventures!

The two ingredient pancake reviewed 

Disclaimer! One of the two ingredients is an egg, so this isn’t vegan. My next experiment will involve a flax seed egg, so we’ll see what happens. 

  
My taste tester, Sam, says it’s excellent. The proof of that is how fast it disappeared. 

As advertised, the pancake has only two ingredients. If you’re on Facebook, you’ve probably seen it. 

Mash a ripe banana and add an egg. Mix well, as if for scrambled eggs. 

Heat coconut oil in a pan (if you make it my way).  You know you can choose your own oil. Make a decision. 🙂


Allow enough space for the pancake to spread out. Use a very large spatula to flip it…or use the wrist flip if you’re a boss…and have extra time to clean. 

  
Fix it as you wish…this is what I had on hand. 

I’m calling it a success as it was simple, relatively nutritious, and was eagerly devoured. 

Try it and let me know. I’ll post the flax seed variety soon. 

Happy New Year! Thanks for joining me in the journey. 

Vegan Cream of Mushroom Soup…Imagine!

  
Surprisingly, there are many recipes for vegan cream of mushroom soup. This one was from Pinterest Maria’s post, and I’ve modified it a bit. If you check her original post, you’ll see comments in which people hassled her a bit about putting some feta cheese on the top. The way I see it, if someone is kind enough and brave enough to post a recipe, either make it as is or modify it to your liking. We’re all grownups! 

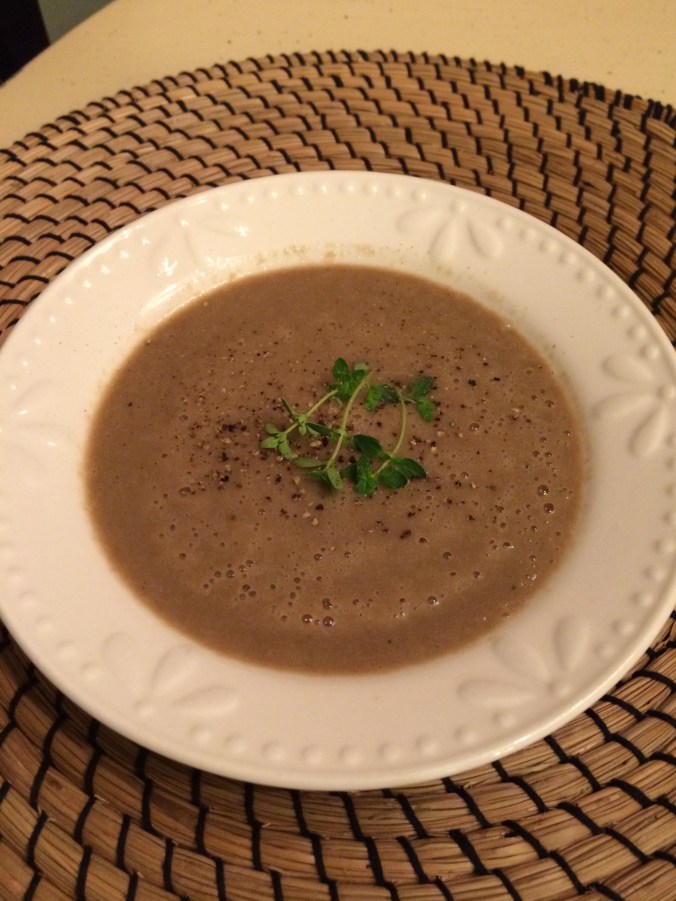
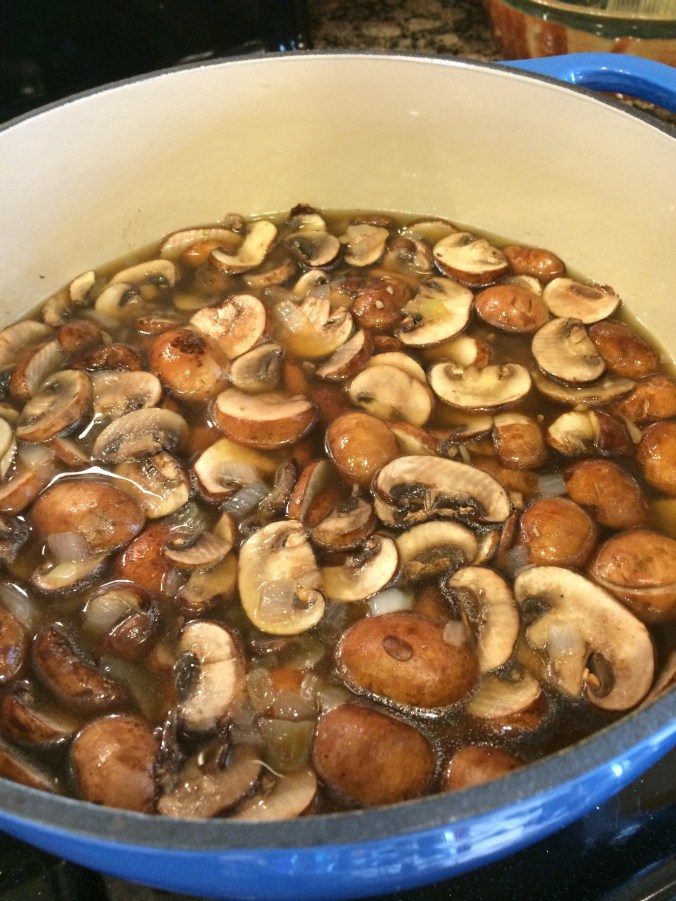
Photo disclaimer… In a perfect world I would have saved some baby Bellas and sautéed them for a beautiful garnish. But guess what? It’s not a perfect world and I forgot to set aside mushrooms for that purpose. You know being perfect doesn’t stop me.

Let’s get to the modifications! The search for mushroom soup was born out of the need to use my huge package of baby Bella mushrooms that I purchased at Costco. 24 ounces of mushrooms waiting in my refrigerator for someone to come up with an original idea. Maria’s recipe called for one package of mushrooms, and I had the equivalent of four!

I started with a tablespoon of coconut oil in my spiffy new blue Dutch oven, and sautéed diced white onion and a teaspoon of minced garlic.

On a gamble I sliced the baby Bellas and added all, yes all of them…to the pot. 

Next I added a 48 ounce carton of whole foods vegetable broth, one cup of unsweetened almond milk, a can of drained and rinsed chickpeas, and a few sprigs of time. 

  
After it came to a boil, I let it simmer for about an hour and used my immersion blender to get it to a smooth consistency. I added about 2 tablespoons shoyu sauce and freshly ground pepper to get just the right taste.  (You could use soy sauce or just salt, but be careful as you go.) If you make it, skip the immersion blender and go straight to the Blendtec or Vitamix… I had to go that route to get it as smooth as it needed to be.

In the end, well worth it! Creamy healthy soup that gets all of its dark color from mushrooms and vegetable broth.   I now have eight generous servings portioned out for the refrigerator and the freezer, which means I have lunches ready and waiting!

If you try it and or use your own modifications, please let me know. Enjoy!

Hummus evolution


Hummus is a staple in my diet, but the type and quality of hummus is constantly evolving. For Saturday’s girls’ night, we opted for a plain variety and a roasted red pepper rockstar.

Two years ago I posted my early version of hummus, and while the current version isn’t drastically different, it now includes a bit of nutritional yeast and some tahini.

Hummus…enough for friends:

  • 2 15 oz cans organic chickpeas (garbonzo beans), drained and rinsed
  • Juice of one whole lemon
  • 1 tablespoon tahini (used Whole Foods 365)
  • 1 tablespoon nutritional yeast
  • Freshly ground black pepper (1/2 to 1 tsp)
  • Salt to taste (used 1 tsp celtic sea salt)
  • 1 tablespoon olive oil
  • Water to thin to desired consistency
  • Extra olive oil to drizzle on top

Add ingredients to a food processor and turn on for at least a minute.  Check the consistency and slowly add water until the hummus is smooth and creamy – or whatever consistency you like.  Usually it takes another two to three minutes in the processor. Scoop into a bowl and drizzle with olive oil.  Finish with freshly ground pepper.

Roasted red pepper hummus:

  • 1 15 oz. can organic chickpeas
  • 1/2 whole fire roasted pepper (used Whole Foods brand…sold in a glass jar…enough for 3-4 batches of hummus)
  • juice of 1/2 lemon
  • 1 tablespoon tahini
  • Salt and pepper to taste

The fire roasted pepper adds additional moisture to this version, so wait to add water and/or olive oil until you’ve judged the consistency. As above, finish with an olive oil drizzle and a turn of the pepper grinder. (Note: Sometimes I add cumin powder to this version, but Saturday I kept it in its basic form.  Experiment!)

We enjoyed both versions with gluten-free treats…corn chips, rice/flax crackers, pepper strips, and celery.  Healthy snacks, treasured friends, conversation long overdue, and a little wine…couldn’t ask for more.

Photo credit:  Nicole Erikson.  : )

Some like it hot!

12091400_960125497362336_1979185294207735885_o

And so do I, apparently! A friend of mine forwarded this Goop.com recipe to me with the correct assumption that it would be “my kind of thing.”  Indeed…kale, sweet potato, white beans, curry, coconut milk…what’s not to like?  Lunch for a week paired with jasmine rice…(well, three days with two freezer lunches), and a nutritional powerhouse.

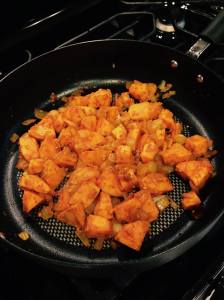
So what’s the problem?  None, if your tastes lean to the mild side. I started with the recommended amount of curry, added to the sweet potatoes.

12109757_960125500695669_7552809202173349943_o

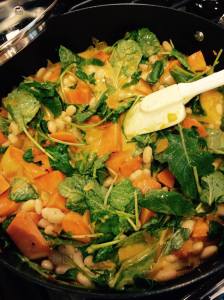
The recipe calls for chopped kale, but I happened to have baby kale on hand, so I threw it in as is. (Am I the only one who over-estimates how many greens I can fit into a green smoothie…and how many green smoothies I can consume?  Let’s just say I needed to use that kale.)

12087226_960125494029003_3570895316461687205_o

The problem came during the taste test.  The foundation was there for a great meal…a variety of fresh ingredients, pleasing color for the eye, and coconut milk (come on).  But it didn’t pack a punch…that is…until I doubled the curry, added salt and pepper, and added red pepper flakes.  That brought the heat up to a noticeable level, but it needed a balancing element.  Bring on the agave nectar!  Personal preference, but I think that a spicy coconut base comes into its own with a bit of sweetness.  A tablespoon was all it took, but the difference was amazing.  Give it a try, and if you agree, please leave a comment.  I would love to hear about your adventures on the vegan journey!